ESP32: Visual Studio CodeでESP-IDFを使う(Linux編)
Windows編に引き続き、Linux編ですっ( `・ω・´) ほとんど手順は同じなので、ざっくり行きます!
元記事:https://github.com/espressif/esp-idf/issues/303
1. ESP-IDFのインストール
公式セットアップガイドを参考にインストールします。インストールしたら、.zshrcとか.cshrcとか.profileに、環境変数 IDF_PATH の設定を追加しておきます。2. Visual Studio Codeのインストール
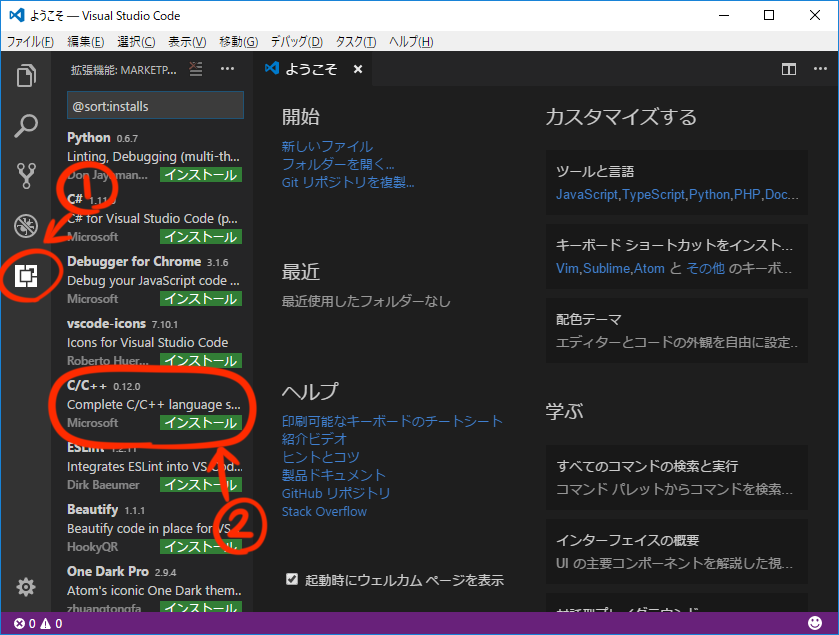
https://code.visualstudio.com/からインストールします!3. C/C++ extensionのインストール
Windows編と同じです!(←それでいいのかー!4. プロジェクトの設定
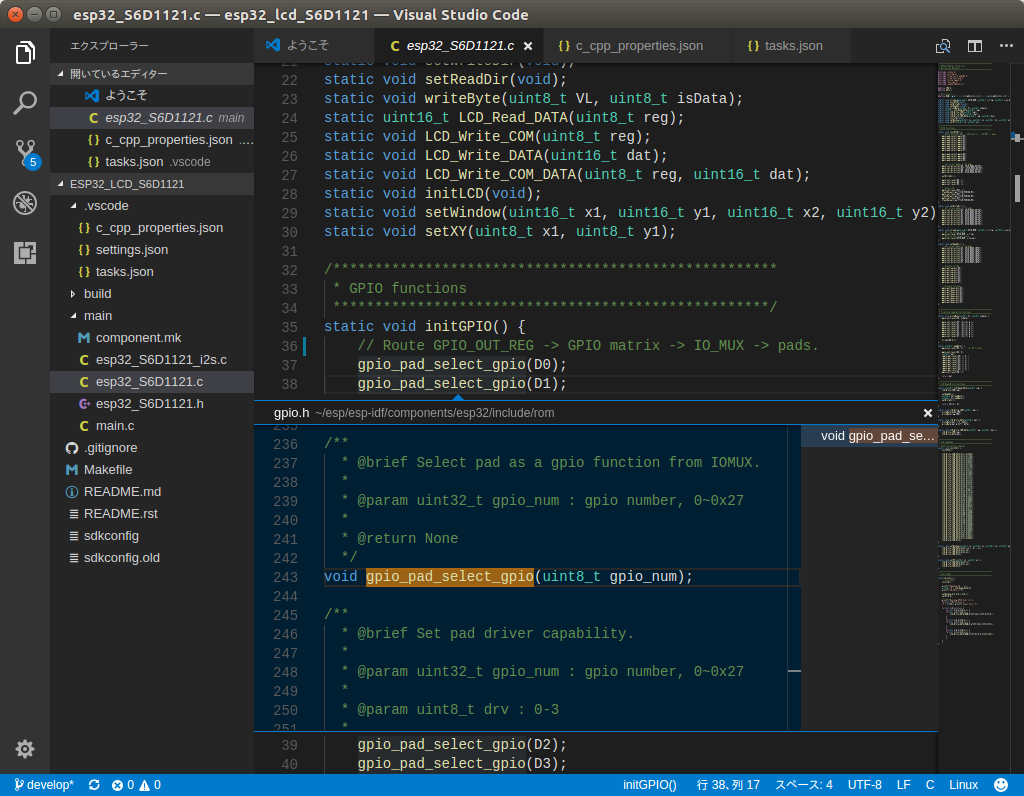
[ファイル]メニューの[フォルダーを開く]から、既存のESP-IDFのプロジェクトを開きます。開いたらCtrl+Shift+Pを押し、「edit」と入力すると出てくる「C/Cpp: Edit Configurations」を選択します。すると、「c_cpp_properties.json」が開かれるので、以下の内容に上書きします。[ユーザー名]のところだけ、適宜書き換えて下さい。{
"configurations": [
{
"name": "Linux",
"includePath": [
"${workspaceRoot}",
"/home/[ユーザー名]/esp/esp-idf/components"
],
"defines": [],
"intelliSenseMode": "clang-x64",
"browse": {
"path": [
"${workspaceRoot}",
"/home/[ユーザー名]/esp/esp-idf/components"
],
"limitSymbolsToIncludedHeaders": true,
"databaseFilename": ""
}
}
]
}続いて、もう一度Ctrl+Shift+Pを押し、「task」と入力すると出てくる「タスク:タスクランナーの構成」を選択し、更に「Others: 任意の外部コマンドを実行する例」を選択します。すると、「tasks.json」が開かれるので、以下の内容に上書きします。
{
    "version": "0.1.0",
    "command": "bash",
    "args": ["-c"],
    "isShellCommand": true,
    "showOutput": "always",
    "suppressTaskName": true,
    "options": {
        "cwd": "${workspaceRoot}"
    },
    "tasks": [
        {
            "taskName": "build app",
            "args": ["make app"],
            "isBuildCommand": true,
            "problemMatcher": {
                "owner": "cpp",
                "fileLocation": "absolute",
                "pattern": {
                    "regexp": "^(.*):(\\d+):(\\d+):\\s+(warning|error):\\s+(.*)$",
                    "file": 1,
                    "line": 2,
                    "column": 3,
                    "severity": 4,
                    "message": 5
                }
            }
        },
        {
            "taskName": "clean app",
            "args": ["make app-clean"]
        },
        {
            "taskName": "flash app",
            "args": ["make app-flash"]
        },
        {
            "taskName": "monitor",
            "command": "gnome-terminal",
            "args": ["-e","make monitor"],
            "isShellCommand": false,
            "showOutput": "never"
        },
        {
            "taskName": "menuconfig",
            "command": "gnome-terminal",
            "args": ["-e","make menuconfig"],
            "isShellCommand": false,
            "showOutput": "never"
        }
    ]
}なお、「gnome-terminal」はUbuntuのデフォルトのターミナルエミュレータですが、他のターミナルエミュレータをお使いの場合は、適宜書き換えてください。
5. ビルドと実行
[タスク]メニューの[タスクの実行]から、ビルド等を実行できます。
- menuconfig: 別ウインドウが開いて、menuconfigできます。
- build app: ビルドします。
- flash app: ESP32に書き込みます。
- monitor:別ウィンドウでモニターを起動します。
- clean app:クリーンします。
4. おわりに
Windows編で力尽きて、手抜き感が・・・(/ω\)イヤン
といっても、menuconfigとmonitorに対応した以外は、ほとんど元記事のままだったので、あまり書くことも無くて(←言い訳
VSCodeはElectronで作られていることもあって、多言語化含め、Windows版と全く同じなんですねー。というか、Windows版を触った時、最初Atomかと思いました(゜◇゜)
なんにせよ、使えるIDEが増えたのは良いことだと思います!(*´▽`*)

コメント
コメントを投稿